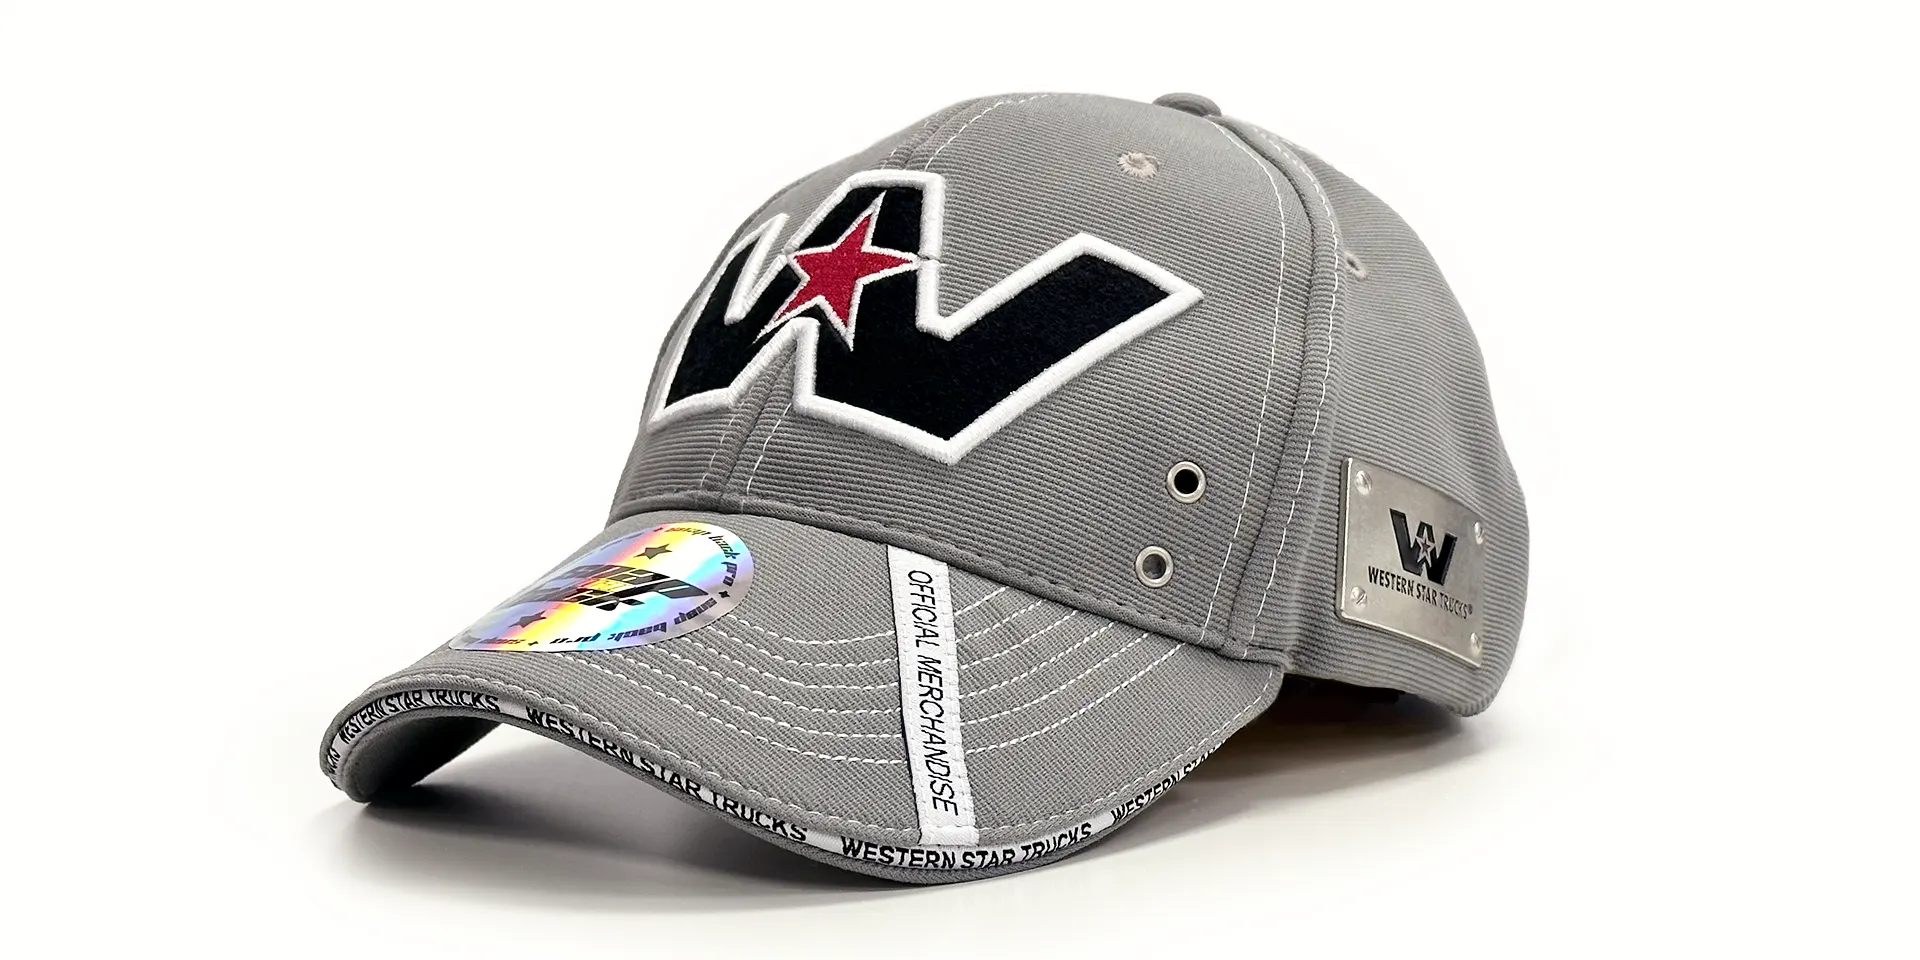
Are you looking to create a truly remarkable cap that will grab everyone’s attention and promote your brand in a unique way? You’ve come to the right place! We can show you how to design a cap that is 100% unique and will showcase your branding from any angle. With our help, you can create a cap that you’ll be proud to wear and that others will be eager to own. Let’s get started on designing a cap that will truly stand out!
You can jump to the sections here:
Step 1: Cap Type
Step 2: Profile
Step 3: Cap Material
Step 4: Button
Step 5: Eyelets
Step 6: Seam and sweatband
Step 7: Peak
Step 8: Size fitting / Closure
Step 9: Decoration
Custom made cap options
We’ll guide you through the entire process of creating your unique cap, starting from the top down. If you’re new to custom-made caps, we suggest reading this article from start to finish to learn about all your options. There are plenty of customisations available, and we want you to be aware of all of them. Remember, you always have the option to select a ready-made cap and decorate it with your branding, you can find our promotional caps range here.
So let’s explore the world of custom-made caps!
Step 1: Cap Type
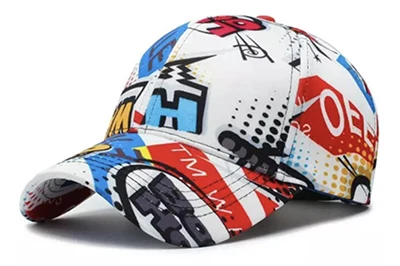
Baseball Cap
The baseball cap is the most popular type of cap and has been around since 1905 when the Detroit Tigers first put their logo on them. It is now one of the most significant fashion exports from the USA.
This type of cap has a sporty look and feel and features a structured and tall design. It is typically made of six sections or panels and traditionally has a flat brim, though fashion trends go back and forth between flat and curved brims.
Baseball caps always come with eyelets near the top to provide ventilation, but since we’re discussing how to make a 100% unique cap, anything is possible! Styles can be changed and mixed to meet your requirements. Additionally, the panels at the back can be made of mesh for more breathability.
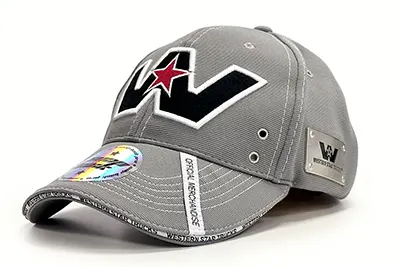
Dads Cap
The Dads cap looks relatively similar to the baseball cap, but this type of cap has several main features that makes it different from the baseball cap:
- This is a less “sporty” and a more versatile type of cap
- Usually made of softer materials (cotton or brushed cotton twill) for more comfort
- Dad cap (or dad hat) has a round brim which is pre-shaped
- It has much more of a “relaxed” style and fit
- Dad hat has a lower profile
- Size is usually adjusted with a strap (all adjustment types explained below)
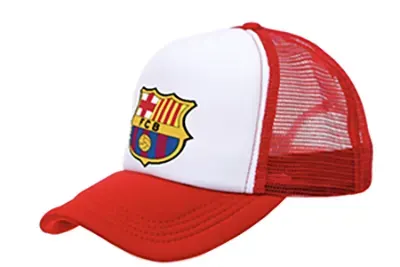
Trucker Cap
Trucker caps typically feature a foam front panel, or a joint foam panel, and mesh panels on the remaining sections to promote ventilation. The primary objective of this cap design is to provide maximum comfort to the wearer, particularly in hot weather conditions.
5-Panel Cap
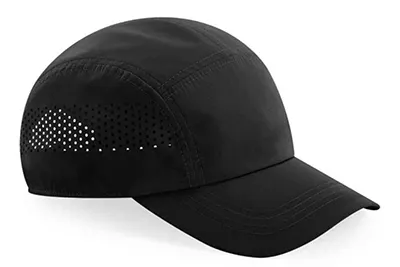
5-panel cap, also known as “camp cap” is a low-profile, relaxed cap. This cap is often used for promotional purposes but over the years has grown in popularity thanks to brands such as North Face and Supreme adding this type of cap to their collections.
The 5-panel cap has a flat brim and often is produced with mesh sides.
Brimless Cap
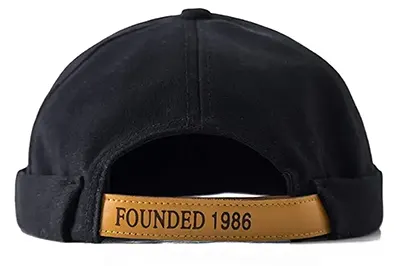
Although not commonly seen in the promotional industry, the brimless cap (also known as the docker cap) is a unique and eye-catching option if it fits with your target audience. It resembles a baseball cap without the brim and has a cuffed beanie effect.
Sun visor cap
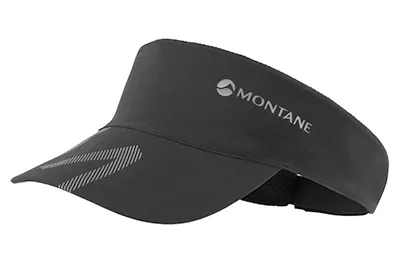
A sun visor cap, also referred to as a visor cap or sports visor, is a type of cap that lacks a crown, featuring only a brim that wraps around the head, with a strap at the back to adjust the size. This type of cap has been favoured by golf and tennis players, as it facilitates heat dissipation from the head better than hats with a covered top.
Step 2: Profile
ing the profile of your cap. This is a fairly simple process, as there are essentially three main choices if you decide to modify a standard cap type.
Shallow/low profile: crown height is about 2 – 3 inches. Great for unstructured, casual-looking caps (like dad cap).
Medium profile: 3 – 4 inches. This is a sweet middle, think baseball cap here. More structured but still relaxed and casual enough.
Full or tall profile: Above 4 inches. Your 90s style cap. This cap will make a statement and will be much more noticeable. This is typically trucker cap.

Step 3: Cap Material
When selecting your main material(s), it’s important to start by answering some key questions:
– What colour(s) should the cap be? This is where you’ll need to decide whether you want a single colour or if some panels should be a different colour. The most popular options are single-colour caps and two-colour caps (especially for caps with mesh backs).
– How breathable does the cap need to be? While traditional choices usually involve using a single material (such as cotton, polyester, or denim) for the entire cap, or using cotton for the front and mesh for the back for increased breathability, we encourage you to consider two other options that are both stylish and functional: using all mesh panels or using fabric with small breathing holes.
– What texture or feel should the cap have? The most popular choices are typically wool, cotton, sport twill, brushed heavy cotton, chino twill, denim and hemp.
Step 5: Eyelets
Eyelets can be decorated with either sewn or metal materials, such as brass, aluminium, or stainless steel. This is another opportunity to match the colour of your logo if you’re looking for a more colourful cap design.
Step 6: Seam and sweatband
When ordering your cap, you have the option to choose a decorated or blank seam and sweatband on the inside. Typically, we leave both areas blank for promotional purposes. However, if you plan to sell the caps with your brand name, adding the printed logo to the sweatband and seam can give the cap a premium feel and enhance its perceived value.
Seam stitching
Seam stitching on caps is typically done in either transparent, contrasting, or matching colours. If you’re looking for a more eye-catching cap design, matching the stitching colour to your logo colour is a great option.
Step 7: Peak
Peak shape
If you haven’t yet decided on the shape of the peak when selecting your cap type in step one and type of profile in step two, this is the time to make that decision. There are three basic types of cap peaks: flat, slightly pre-curved, and pre-curved.
Top of the peak
The apex of a cap is a significant aspect of its appearance, and therefore, it is crucial to make important design choices for this area. When it comes to customising the top of the peak, popular decoration options include a large logo or artwork placed at the centre or logos on the sides, particularly for pre-curved peak shapes. Another option is a peak made of two colours, with the centre in the primary body colour and the rim in the secondary colour.
Bottom of the peak
This area of the cap typically receives the least investment in terms of customization since it is the second least visible part (the inside of the cap being the least visible). Your primary consideration here should be focused on two main features. The bottom of the peak should not be made in a colour that is overly bright and draws the wearer’s attention away from surroundings. While it may be tempting to use bright colours and place your logo or brand message here, consider the potential impact on the wearer. If the cap attracts too much attention, it could be distracting or even dangerous.
When it comes to decoration, for the safety of the wearer, we always recommend that this part of the cap be the most neutral and “boring” since it is in direct sight. You can choose whether or not you want the bottom of the peak to be stitched. If you opt for stitching, using your secondary colour can make the bottom of the peak look very elegant.
Sandwich peak trim
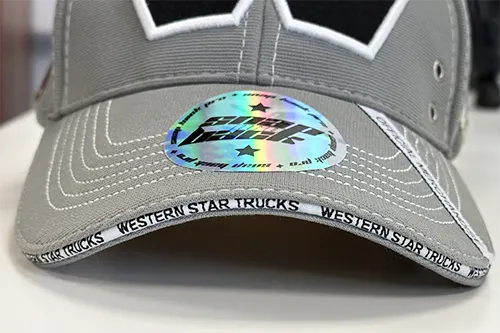 This part of the cap is often overlooked, but it is a brilliant place to attract people’s attention. A message or logo on the sandwich peak will be especially noticeable to people looking at you since it is very close to eye level.
When it comes to decoration, the sandwich peak is typically decorated in the secondary colour, and the branding message is then printed in the primary colour or a highly contrasting.
Step 8: Size fitting / Closure
If you’re not going for the first option, then you’re after a cap with size fitting, below are all options with their pros and cons.

Snapback
Snapback caps became an iconic choice for resizing during the 90s, especially among hip hop stars who popularised the trend of wearing them in reverse, revealing the back of the cap to a wider audience.
Snapback pros: They offer a retro 90s look that is increasingly trendy and they are a budget-friendly option that can fit many different head sizes.
Snapback cons: Might not be suitable for some brands due to their association with the hip hop style and cheaper appearance. Additionally, snapbacks cannot be adjusted for a perfect fit like the option we will discuss next, as the distance between the snap holes limits adjustability.
Strapback
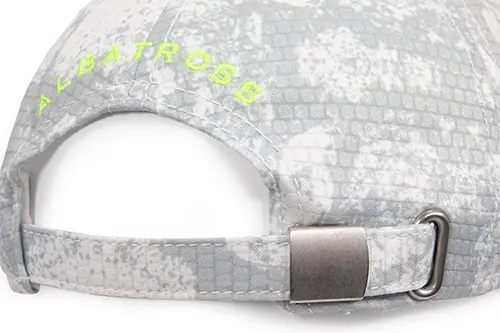
A strapback cap is precisely what it sounds like – a cap with a strap that has a clipper. The strap is usually made of the same material as the rest of the cap, although some customers opt for nylon or leather straps. Strapback caps offer two closure options: a strap with a slide or a strap with a buckle. The buckle closure is the most popular due to its convenience in quickly adjusting the strap to the desired fit.
Strapback pros: These caps offer the most precise and straightforward way to adjust the cap’s fitting, and the strap and buckle can be decorated with branding or a message.
Strapback cons: Although rare, the metal buckle mechanism may loosen and stop locking the strap at the required position. It’s recommended to tuck in the strap, or it will hang loose.
Velcro (Hook-and-loop fastener)
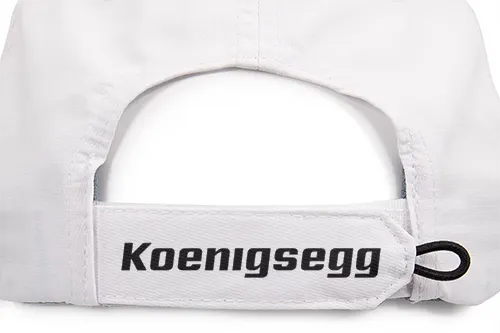
Velcro is another popular resizing option to consider for your cap. It offers a clean and polished look and can also be decorated.
Velco pros: Velcro has several advantages, including the fact that any decoration on the velcro will always be visible regardless of the wearer’s adjustments. It’s also easy to adjust the size of the cap with Velcro.
Velco cons: If the wearer’s head is very small, there may be a long bit of strap hanging, which can be inconvenient. Additionally, Velcro tends to catch dirt and fibre, which can reduce its performance if the cap is used frequently.
Step 9: Decoration
Custom cap decoration locations
Nearly each location can be decorated, the list of available decoration locations is below:
- Whole material that is used to make a cap can be custom printed
- Each panel of the cap
- Back of the cap (strap or velcro
- Button – can be custom printed in cloth or made of metal or plastic with logo
- Eyelets – sewn or metal colours
- Seam – can be printed with your logo or message. Seam stitch can be colourful
- Tags – can be printed or woven
- Sweatband – can be custom printed
- Peak – Can be decorated on top, bottom also peak trim
Decoration options
When it comes to decorating your custom-made cap, the possibilities are endless! There are several decoration methods that can be used alone or in combination with each other:
Patches
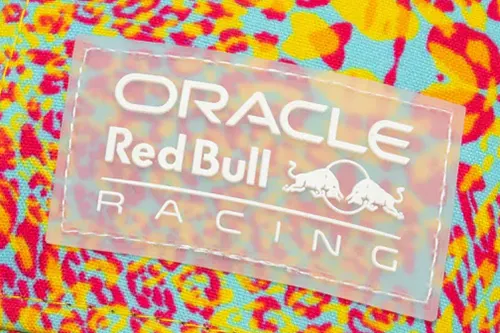
Patches are also known as badges, can be made using a variety of materials including silicone, PVC, leather, faux, and cotton. They can be printed, embroidered, embossed, or debossed.

If you’re looking for an easy and affordable way to decorate caps, printing is the way to go. Whether you want to print the entire cap or just specific parts, it’s a versatile option that gives you endless possibilities.
Embroidery
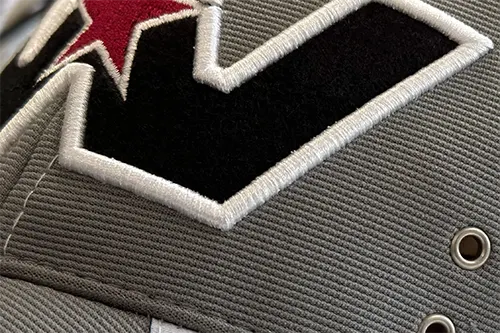
Embroidery is a versatile decoration technique that can be used on nearly every location of the cap, and can create both thin and 3D designs.
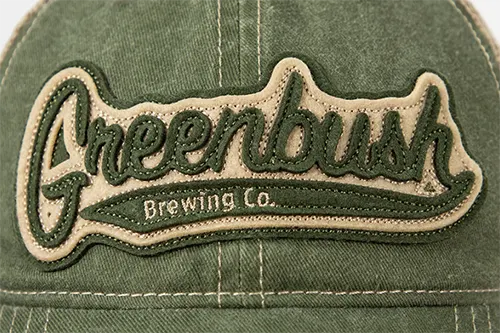
Applique
Applique is a great option if you want your logo to be the same colour and material as the cap, but still stand out.
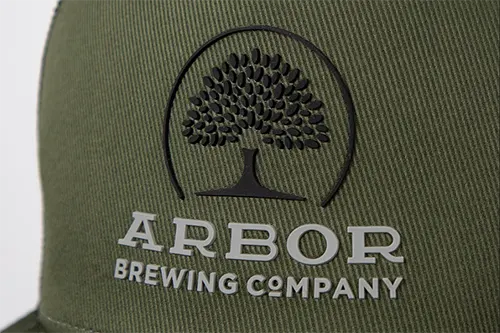
Silicone transfer
Silicone transfer is another decoration method that results in a sharp, premium look, with the background of the decoration matching the cap material.
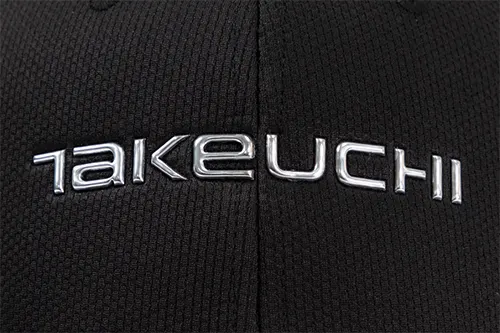
Liquid metal decoration
Liquid metal decoration adds a shiny metal effect to your design.
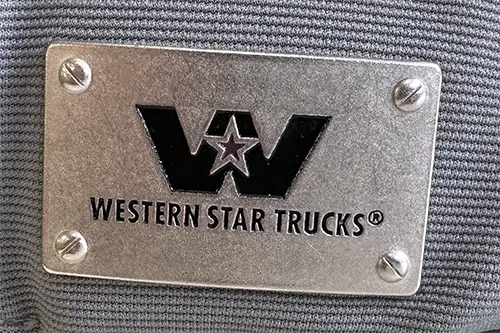
Metal Badge
Finally, metal badges, logos, and emblems are a great way to give your branded cap an industrial or reliable look.

